Spinach is a versatile, nutrient-packed leafy green that can be grown easily at home—even from the spinach you buy at the grocery store! Whether you’re looking to save money, reduce food waste, or enjoy the satisfaction of growing your own food, this guide will walk you through the process of growing spinach using kitchen scraps or seeds from store-bought spinach.
Step 1: Choose Your Starting Point
You can grow spinach at home using:
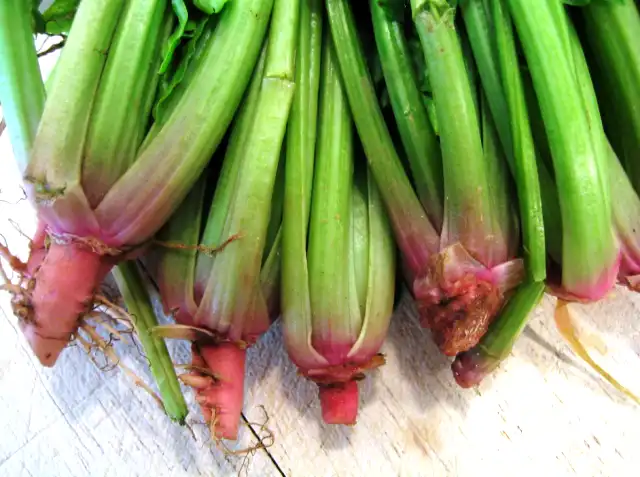
1.Spinach Stems: If your store-bought spinach includes intact stems, you’re in luck.
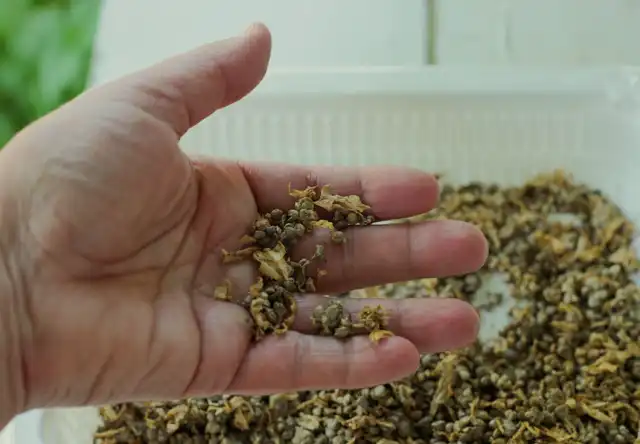
2.Spinach Seeds: Save seeds if the spinach is flowering (bolting).
Step 2: Propagate Spinach from Stems
If you’re using spinach stems, follow these steps:
- Select Healthy Stems:
Look for thick, fresh stems from your spinach bundle. Avoid stems that are yellowing or wilting. - Cut the Stem:
Trim the stem just below a node (the small bumps on the stem where leaves emerge). Keep at least 2–3 inches of stem length. - Prepare a Water Jar:
Fill a small jar with about an inch of water. Place the trimmed ends of the stems in the water. - Provide Sunlight:
Place the jar near a sunny window. Replace the water every 2–3 days to keep it fresh. - Wait for Roots:
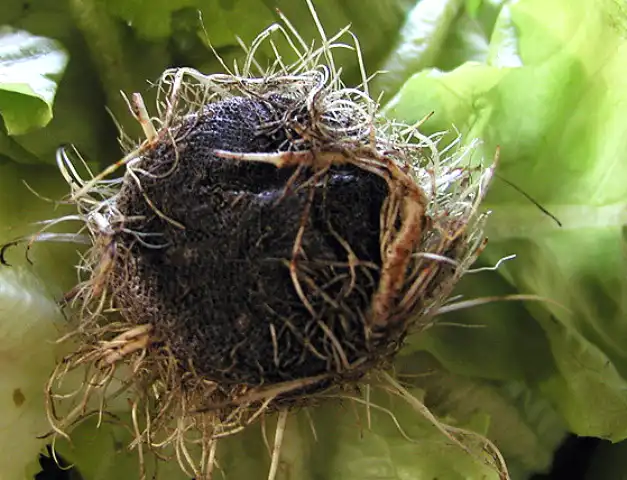
In about a week, roots should start forming. Once the roots are about an inch long, you can transfer the stems to soil.
Step 3: Grow Spinach from Seeds
If you’ve managed to harvest seeds from bolted spinach:
- Prepare the Soil:
Use well-draining, nutrient-rich soil. Spinach thrives in slightly acidic to neutral soil (pH 6.0–7.0). - Plant the Seeds:
Sow the seeds about ½ inch deep and 2 inches apart in rows. Cover lightly with soil. - Water Consistently:
Keep the soil moist but not waterlogged. Spinach prefers cool, moist conditions. - Provide Sunlight:
Spinach grows best with 6–8 hours of sunlight daily. Partial shade works well in hotter climates.
Step 4: Transplant or Thin the Plants
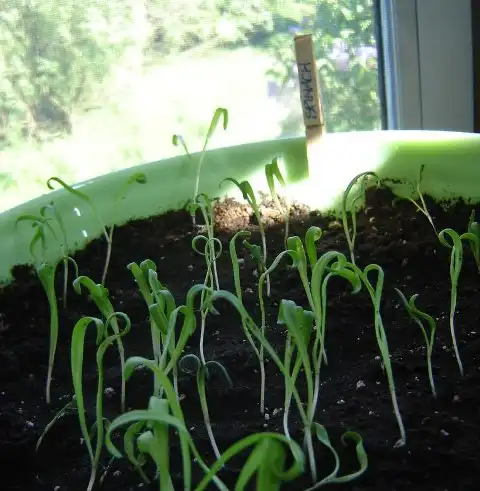
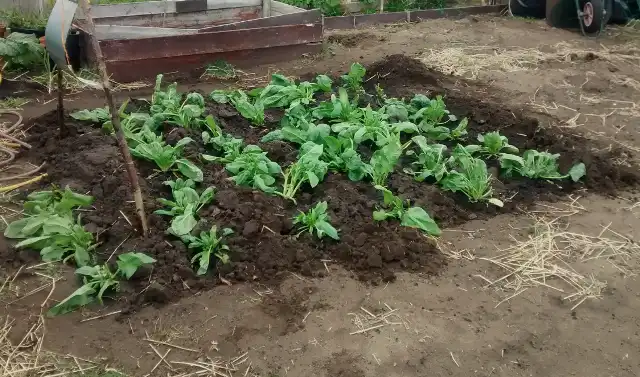
Once your stems or seeds develop into small plants, thin them out so each plant has about 6 inches of space to grow. If you’re transplanting rooted stems, ensure they’re placed in soil deep enough to cover the roots securely.
Step 5: Care and Maintenance
- Watering: Water spinach deeply once or twice a week, ensuring the soil remains moist.
- Fertilizing: Add compost or a balanced fertilizer every 4–6 weeks for lush growth.
- Weeding: Keep the area weed-free to reduce competition for nutrients.
Step 6: Harvest Your Spinach
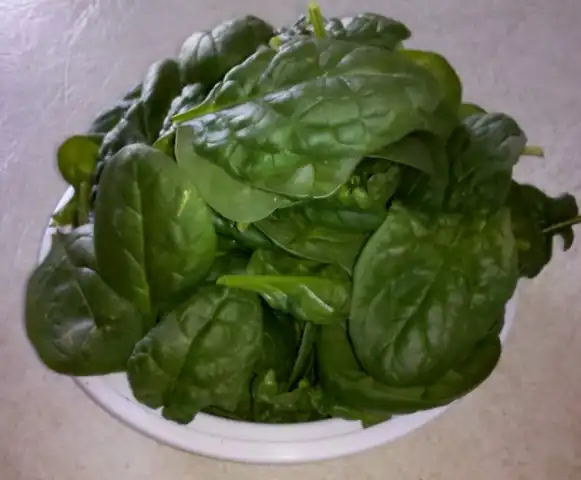
Spinach grows quickly and is ready for harvest in as little as 4–6 weeks. For continuous growth:
- Harvest Outer Leaves: Cut the mature outer leaves, leaving the center intact for regrowth.
- Avoid Overharvesting: Take only a third of the leaves at a time to maintain healthy plants.
Tips for Success
- Seasonal Timing: Spinach grows best in cool weather, so aim for spring or fall planting.
- Pest Control: Use natural deterrents like neem oil to keep aphids and other pests at bay.
- Bolt Prevention: Prevent bolting by keeping plants cool and hydrated during hot weather.
Conclusion
Growing spinach from grocery store scraps or seeds is a simple, rewarding project that can provide you with fresh greens year-round. By following these steps, you’ll not only save money and reduce waste but also enjoy the satisfaction of nurturing a plant from start to finish.
MORE POSTS: How to grow parsley from store-bought parsley
