I have been cultivating potatoes in my garden for many years. Potatoes are one of my favorite vegies to grow. I love the harvest part of the potatoes. Its like a treasure hunt in the soil. Those underground potatoes give you a feel that you have accomplished something.
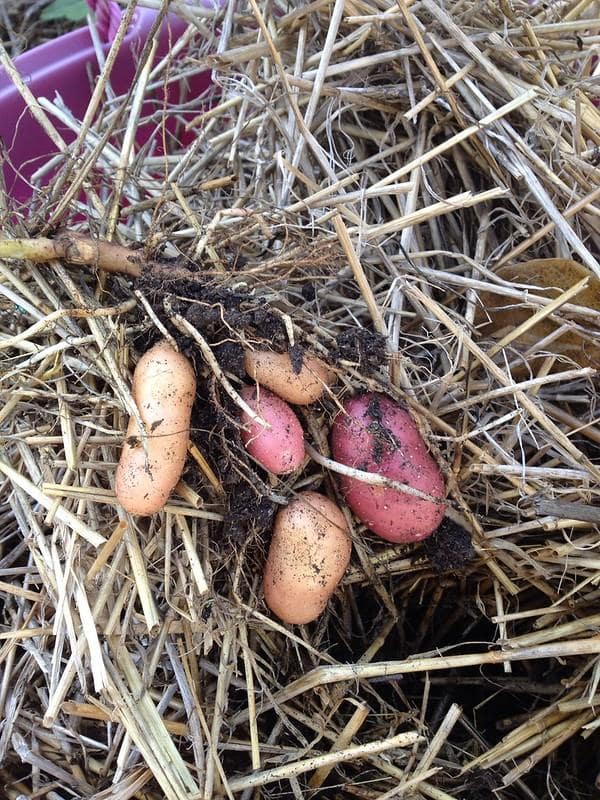
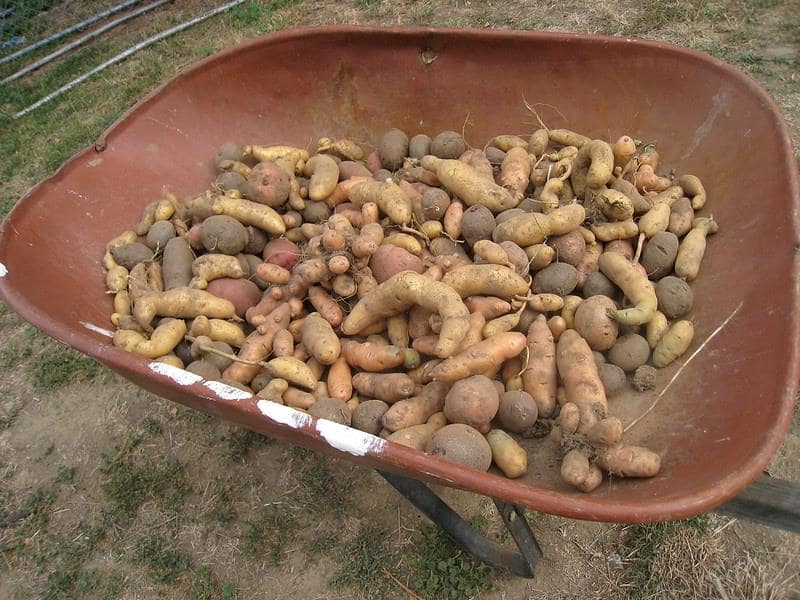
Fingerling potatoes are something special to me. Their buttery texture is that I love to make smashed potato salad. You can grow fingerling potatoes in containers from seed potatoes in my garden. Last year I was able to harvest 20 kilos of fingerling potatoes from the garden.
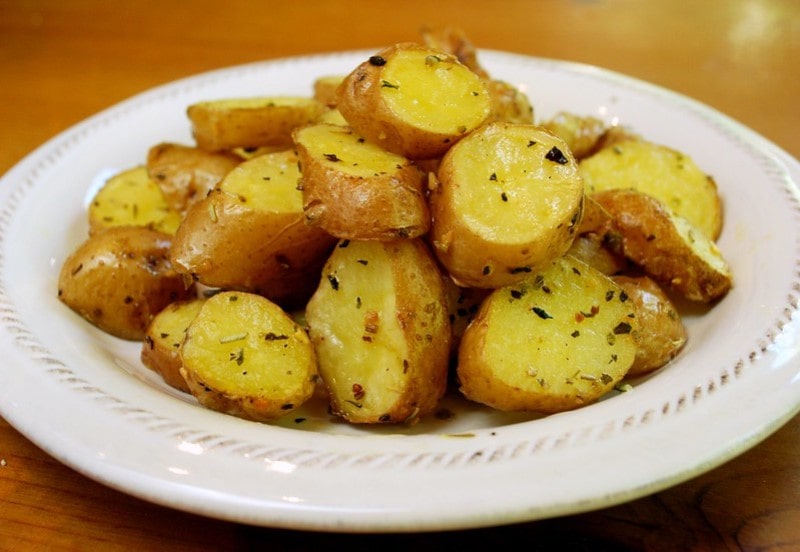
You can use them in various dishes with other vegetables. My favorite one is the garlic butter roasted fingerling potatoes.
You can easily grow them in containers. They give a good harvest when grown in containers.
Cultivation of Fingerling Potatoes in Containers
The advantage of growing fingerling potatoes in containers is they grow well in limited arable land in urban patios. You also get the control to facilitate ideal nutrient profiles to the soil.
- Maximization of Space: Containers enable agricultural productivity in areas with limited arable land, such as urban patios or balconies.
- Enhanced Soil Control: Tailored soil compositions facilitate ideal nutrient profiles and mitigate soil-borne pathogens.
- Streamlined Harvesting: Container systems simplify tuber retrieval, reducing soil disturbance and post-harvest labor.
- Integrated Pest Management: Elevated planting reduces exposure to common soil pests and diseases.
Required Materials
- Certified Seed Potatoes: Procure pathogen-free fingerling seed potatoes to ensure genetic and phytosanitary integrity.
- Container Specifications: Utilize a vessel with a minimum capacity of 15-20 gallons, equipped with robust drainage capabilities.
- Potting Substrate: Select a lightweight, well-aerated, nutrient-enriched medium, ensuring optimal drainage and pH stability (5.5 to 6.5).
- Fertilization Regimen: Employ a balanced fertilizer emphasizing phosphorus (P) and potassium (K) to enhance root and tuber development.
- Irrigation Apparatus: Employ tools that facilitate consistent, uniform hydration.
- Organic Mulch or Straw: Utilize to regulate microclimate conditions within the container environment.
Step by Step Approach
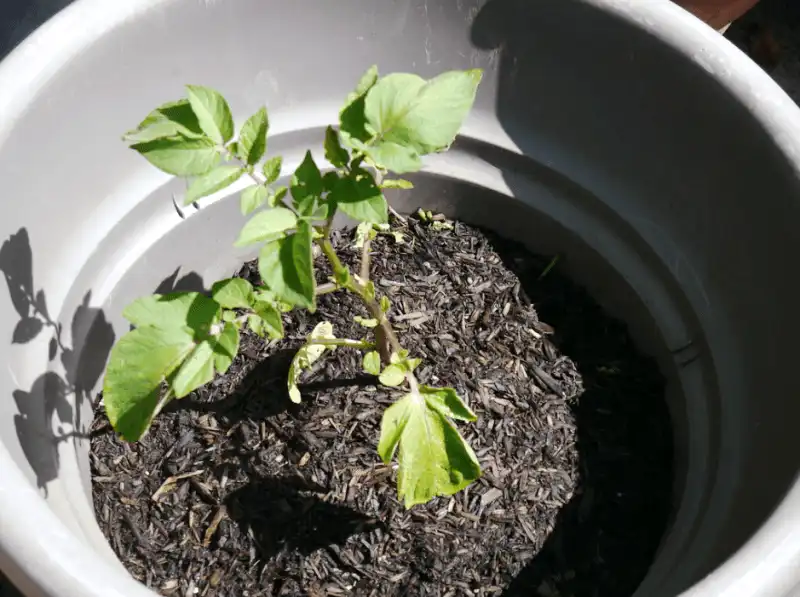
1. Container Selection and Preparation
Employ containers with a minimum depth of 18-24 inches to support extensive root architecture. Ensure drainage apertures are unobstructed to prevent anaerobic soil conditions.
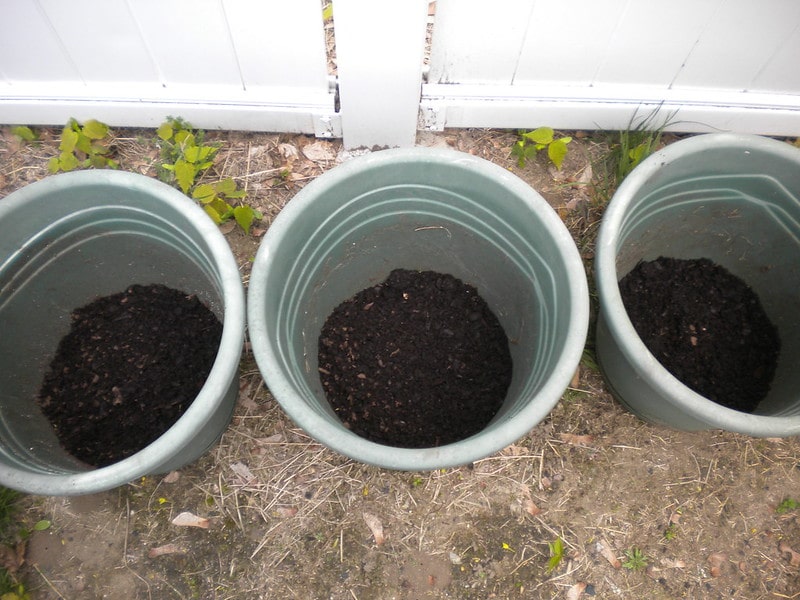
2. Soil Preparation
Formulate a substrate combining high-quality potting mix with compost or aged manure. Integrate a balanced fertilizer according to agronomic recommendations to sustain growth cycles.
3. Seed Potato Preparation
Obtain certified seed potatoes from reputable suppliers. Segment larger tubers into pieces, ensuring each piece retains one or two viable “eyes.” Cure cut pieces for 24-48 hours in ambient conditions to enhance callus formation and reduce susceptibility to microbial infiltration.
4. Planting Protocol
- Introduce an initial soil layer of 4-6 inches within the container.
- Arrange seed potatoes with eyes oriented upwards, maintaining a spatial separation of approximately 6 inches.
- Overlay with a 3-4 inch soil layer.
5. Irrigation Management
Thoroughly hydrate the substrate post-planting. Sustain a consistent moisture gradient, avoiding waterlogging to preclude rot. Conduct regular moisture assessments to uphold optimal hydration levels.
6. Incremental Soil Addition (Hilling)
As emergent stems elongate, progressively introduce additional soil, enveloping the stems while maintaining leaf exposure. This process stimulates tuber proliferation by elongating subterranean stem sections.
7. Fertilization Timetable
Administer a balanced nutrient formulation at three-week intervals. Refrain from excessive nitrogen application to prevent disproportionate vegetative growth at the expense of tuberization.
8. Photonic Requirements
Position containers in an environment receiving a minimum of six to eight hours of direct solar exposure daily. Adequate light is imperative for photosynthetic efficacy and biomass accumulation.
9. Integrated Pest and Disease Control
Implement regular inspections to identify potential infestations, such as aphids or Leptinotarsa decemlineata (Colorado potato beetle). Employ organic controls or insecticidal interventions as necessary. Mitigate fungal pathogen proliferation by ensuring sufficient aeration and drainage.
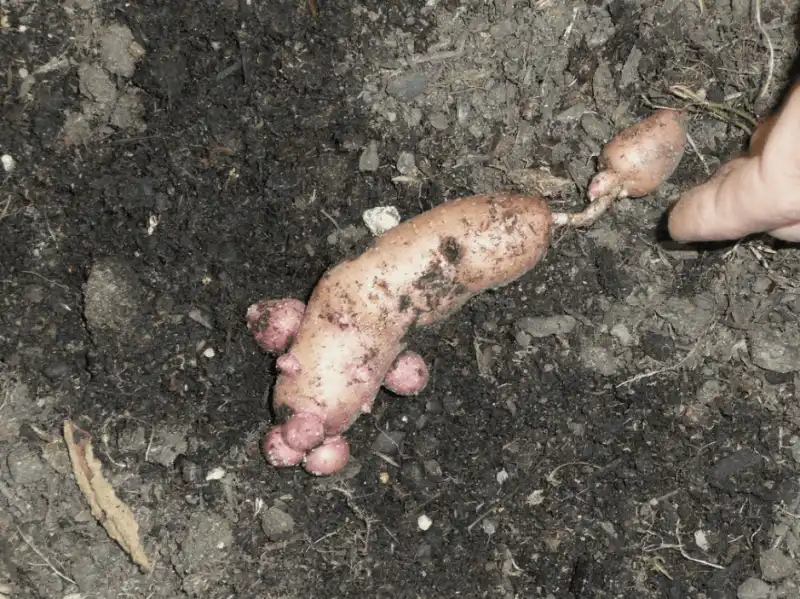
10. Harvesting Technique
Monitor phenological indicators, such as flowering onset, to harvest immature tubers if desired. For full maturation, allow senescence of foliage, typically 70-90 days post-planting. Extract tubers carefully to avoid mechanical damage.
If you want to be a pro cultivator like me consider followings:
- Density Optimization: Overcrowding within containers diminishes individual tuber size and yield uniformity.
- Crop Rotation Practices: Avoid sequential potato cultivation in the same medium to disrupt pathogen life cycles.
- Mulching Benefits: Incorporating organic mulches helps retain moisture and alleviates phototoxic greening of exposed tubers.
- Harvest with care: Manually harvesting lessens the physical damage to harvested tubers.
Growing fingerling potatoes in containers is a smart and space-saving method for farming. By following proven methods, you can grow high-quality potatoes regularly that are perfect for many recipes. Start growing potatoes in containers to enjoy the benefits of modern farming simply and practically.
Read More: A Beginner’s Guide: Growing Sweet Potatoes from Store-Bought Tubers