Growing watermelons in your organic garden can be a rewarding venture, especially if you start from a store-bought fruit. This detailed guide will walk you through the process step by step, ensuring you get the most out of your watermelon cultivation.
Understanding Watermelons
Watermelons (Citrullus lanatus) are warm-season crops, thriving in sunny, well-drained environments. They are vines, so they need space to spread. Knowing these basic requirements will help you plan your garden layout and care routine.
MORE POSTS: How to grow Horseradish from store-bought roots
Step 1: Selecting the Right Watermelon
- Choose Organic Fruit: Ensure the store-bought watermelon is organic. Non-organic watermelons might be hybrids, whose seeds won’t reproduce true to type.
- Opt for Heirloom Varieties: Heirloom varieties are more likely to grow successfully from seeds.
- Ripe and Healthy: The fruit should be fully ripe and healthy to ensure the seeds are mature.

Step 2: Harvesting Seeds
- Cut the Watermelon: Slice your watermelon and extract the seeds.
- Rinse the Seeds: Clean them thoroughly to remove any fruit residue, which can invite mold.
- Dry the Seeds: Spread them out on a paper towel and let them dry for a week in a warm, airy place. Avoid direct sunlight.
Step 3: Seed Germination
- Timing: Start your seeds indoors about 6 weeks before the last expected frost date.
- Soil Preparation: Use a high-quality, organic seed starting mix.
- Planting the Seeds: Plant 2-3 seeds per pot, about 1 inch deep. Keep the soil moist but not waterlogged.
- Warmth and Light: Place the pots in a warm area with plenty of light. A temperature of around 70-85°F (21-29°C) is ideal.
- Thinning: Once the seedlings sprout, thin them, leaving the strongest one in each pot.

Step 4: Preparing the Garden
- Location: Choose a sunny spot in your garden. Watermelons love sunlight and warmth.
- Soil: The soil should be rich, well-drained, and slightly acidic to neutral (pH 6.0-7.0). Enhance your soil with organic compost.
- Spacing: Prepare for ample space. Watermelon vines need room to spread—up to 20 feet.
- Companion Planting: Consider companion planting. Good companions for watermelons include marigolds, nasturtiums, and oregano.
Step 5: Transplanting
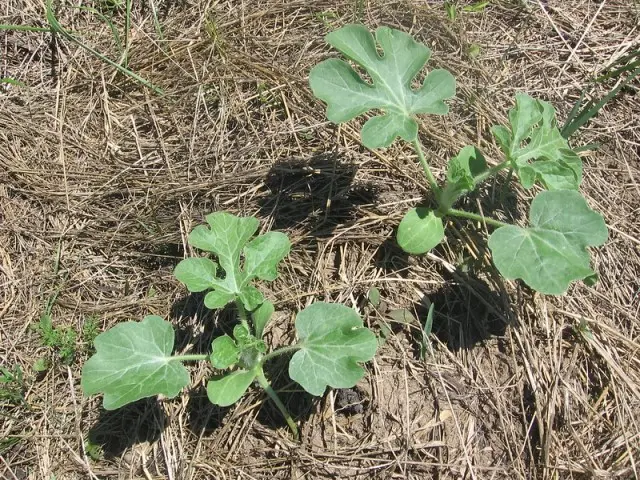
- Hardening Off: Gradually acclimate the seedlings to outdoor conditions over a week.
- Transplanting: Once all risk of frost has passed and the seedlings are strong, transplant them to your garden. Be gentle; watermelon roots are delicate.
Step 6: Watermelon Plant Care
- Watering: Watermelons need a lot of water. However, avoid wetting the leaves to prevent fungal diseases.
- Mulching: Use organic mulch to retain moisture, regulate soil temperature, and prevent weeds.
- Feeding: Use a balanced, organic fertilizer. Too much nitrogen can encourage vine growth over fruit development.
- Pruning: While not always necessary, pruning can help with air circulation and concentrate the plant’s energy on fewer fruits for larger watermelons.
Step 7: Pest and Disease Management
- Organic Pest Control: Use natural pest control methods like neem oil or insecticidal soap for common pests like aphids and cucumber beetles.
- Disease Prevention: Ensure good air circulation and rotate your crops annually to prevent diseases.

Step 8: Pollination
- Natural Pollinators: Encourage bees and other pollinators. Avoid pesticides that could harm them.
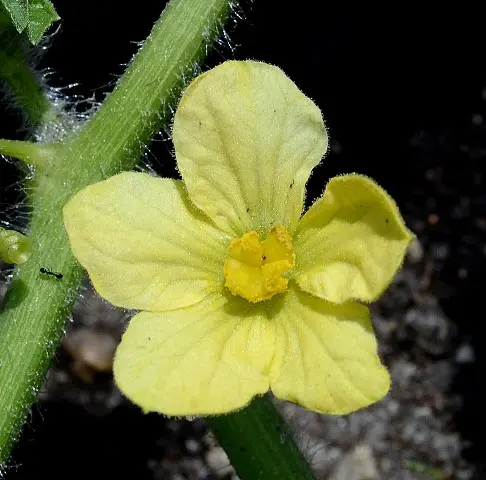
- Hand Pollination: If necessary, you can hand pollinate by transferring pollen from male to female flowers using a small brush.

Step 9: Harvesting
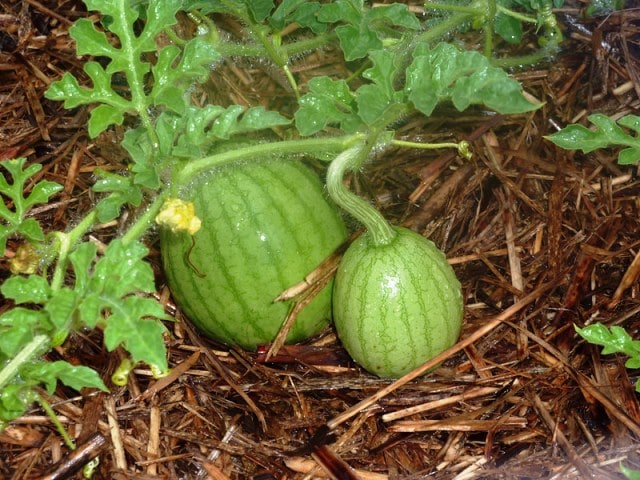
- Signs of Ripeness: The underside of the watermelon turns yellow, and the tendril nearest the fruit turns brown and dries up.
- Harvesting: Cut the watermelon from the vine with a sharp knife or shears. Avoid pulling the fruit off.
Step 10: Post-Harvest
- Storage: Store watermelons at room temperature for best flavor. Refrigerate only once cut.
- Seed Saving: Consider saving some seeds from your harvest for next year’s planting.
Additional Tips
- Crop Rotation: Avoid planting watermelons in the same spot every year to prevent disease buildup.
- Regular Checks: Keep an eye on your plants for any signs of stress or disease.
- Patience: Growing watermelons takes time. Patience is key.
Conclusion
Growing watermelons from store-bought fruit is a fulfilling project that can yield delicious results. By following these steps and providing consistent care, you can enjoy a bountiful harvest. Remember, organic gardening is not just about the end product; it’s about the journey and the connection you develop with nature. Enjoy your gardening adventure!
MORE POSTS: How to grow cantaloupe from store-bought fruit
