Mushroom cultivation has gained popularity among home gardeners as a rewarding and sustainable practice. Growing your own button mushrooms not only ensures a fresh and organic supply but also allows you to witness the fascinating transformation from spore to savory fungi. In this guide, we’ll explore the step-by-step process of cultivating button mushrooms using store-bought specimens as your starting point.

Choosing the Right Mushrooms:
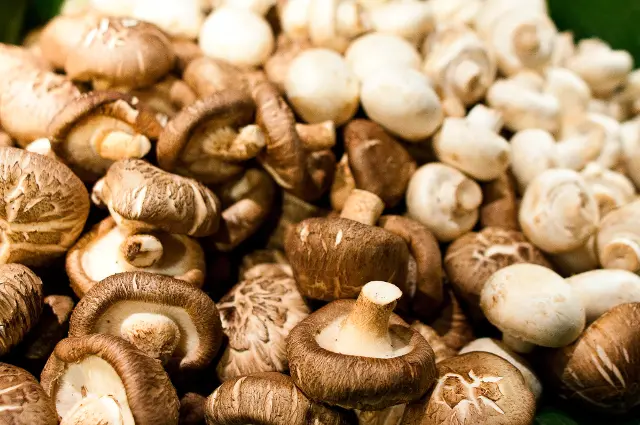
When embarking on the journey of growing button mushrooms, the first step is to select the right mushrooms from the store. Look for fresh, firm, and healthy button mushrooms with closed caps. These mushrooms serve as your “seed” for the cultivation process. Avoid mushrooms with open or discolored caps, as they may not be ideal for spore collection.
Materials Needed:
Before diving into the cultivation process, gather the essential materials required for a successful mushroom growing venture:
- Fresh Button Mushrooms: Purchase high-quality button mushrooms with closed caps.
- Growing Substrate: Button mushrooms thrive on a substrate that provides the necessary nutrients. Common options include a mix of vermiculite, peat moss, and brown rice flour.
- Container or Tray: Choose a container or tray with good drainage to hold the growing substrate.
- Spore Print: Obtain a spore print from the gills of the store-bought mushrooms. This is a crucial step for initiating the mushroom growth.
- Sterilization Equipment: Ensure cleanliness by using a pressure cooker or other sterilization methods for both substrate and tools.
- Mist Spray Bottle: Maintain the right humidity levels by misting the growing environment regularly.
- Dark Environment: Button mushrooms require darkness during the initial stages of growth, so prepare a space where you can control the light exposure.


Step-by-Step Guide:
- Spore Collection: a. Carefully remove the stems from the store-bought button mushrooms. b. Place the caps, gills down, on a clean surface and cover with a glass or bowl to prevent contamination. c. After a few hours, you’ll notice a spore print on the surface. Carefully lift the cap to reveal the collected spores.
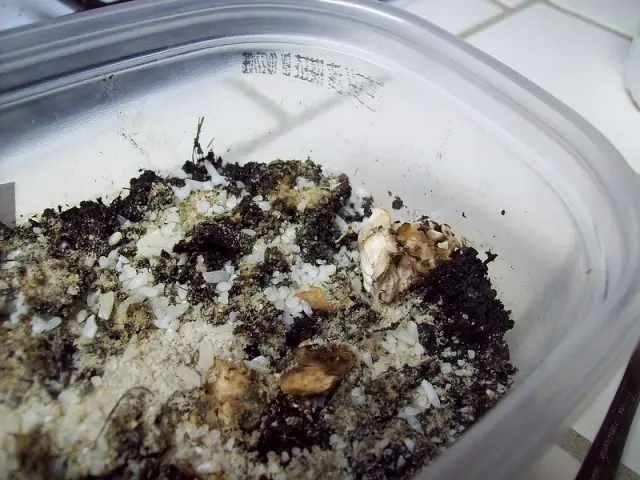
- Substrate Preparation: a. Mix the growing substrate ingredients (vermiculite, peat moss, and brown rice flour) in the right proportions. b. Sterilize the substrate mixture to eliminate any potential contaminants. This can be done using a pressure cooker or by baking the mixture in an oven. c. Once sterilized, let the substrate cool to room temperature before proceeding.
- Inoculation: a. In a sterile environment, transfer the spores from the print to the cooled substrate. This can be done using a sterilized needle or scalpel. b. Gently mix the spores into the substrate to ensure even distribution.
- Incubation: a. Transfer the inoculated substrate into a container or tray with good drainage. b. Cover the container with a lid or plastic wrap and place it in a dark and warm environment (around 75-80°F or 24-27°C) for a week or until mycelium growth is visible.
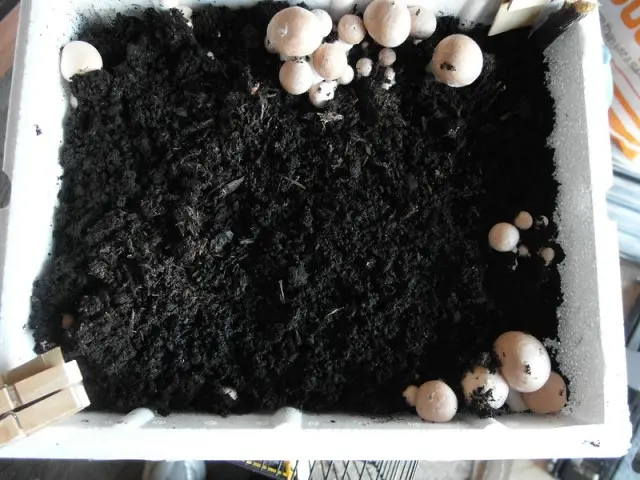
- Colonization: a. Once the mycelium has fully colonized the substrate, expose it to fresh air and lower the temperature slightly (65-75°F or 18-24°C). b. Maintain humidity by misting regularly with a spray bottle.
- Fruiting: a. Introduce light to trigger the fruiting stage. Button mushrooms require natural or artificial light for a few hours each day. b. Keep the environment humid and maintain proper ventilation.
- Harvesting: a. Harvest the button mushrooms when the caps are fully open but before the gills start releasing spores. b. Twist the mushrooms gently to avoid damaging the mycelium.
Conclusion:
Growing button mushrooms from store-bought specimens is a fascinating and fulfilling endeavor that brings the marvels of nature into your home. By following this comprehensive guide, you can turn a few store-bought mushrooms into a bountiful harvest of home-grown delights. So, roll up your sleeves, gather your materials, and embark on the journey of cultivating these culinary gems in the comfort of your own home. Happy mushroom growing!
MORE POSTS:
How to grow thyme from store-bought thyme
